Searching “crayon art” on Pinterest yields all kinds of results. Granted, some appear harder than others.
Personally, I think they look super cool. So, of course I had to go try it out!
It was actually a lot simpler than you might think!
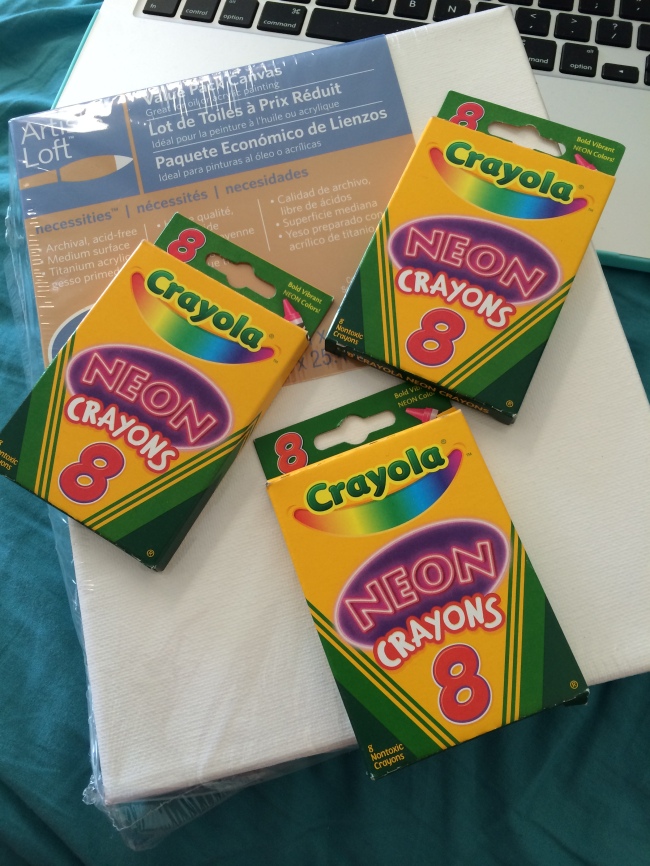
All you will need is:
- a hot glue gun
- crayons
- a canvas (of your desired size)
- a blow dryer
- newspaper/cardboard/shopping bags
The first step is to lay out the crayons in the order you want them. Since these were neon crayons, I chose to do a more random order rather than a rainbow.
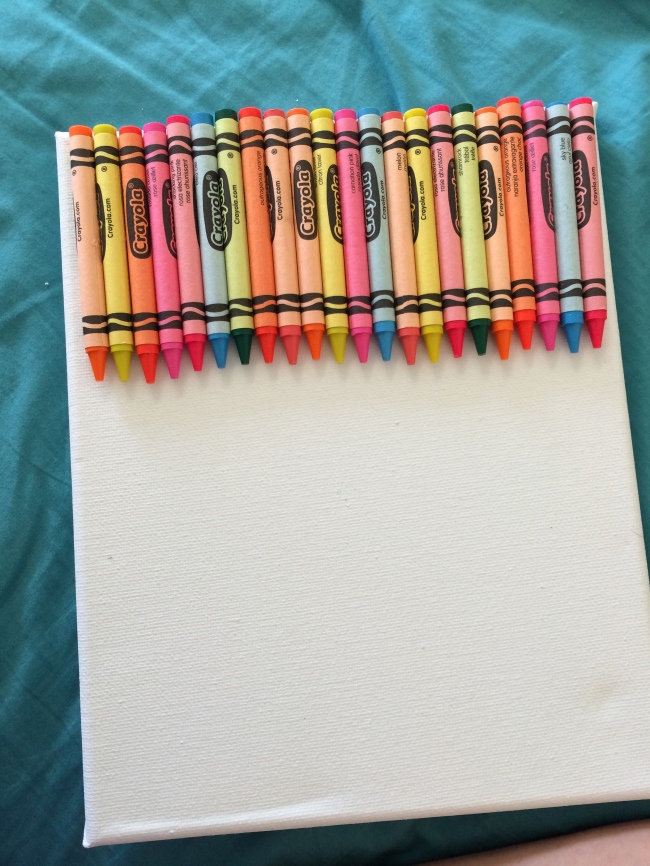
Taking your hot glue gun, glue down the crayons. You can either put the glue straight onto the crayon, or onto the canvas. Both techniques work well. Instead of doing a straight line, I opted to do a zig-zag.

Looking back, I wish the crayon labels all had the color names facing outwards!
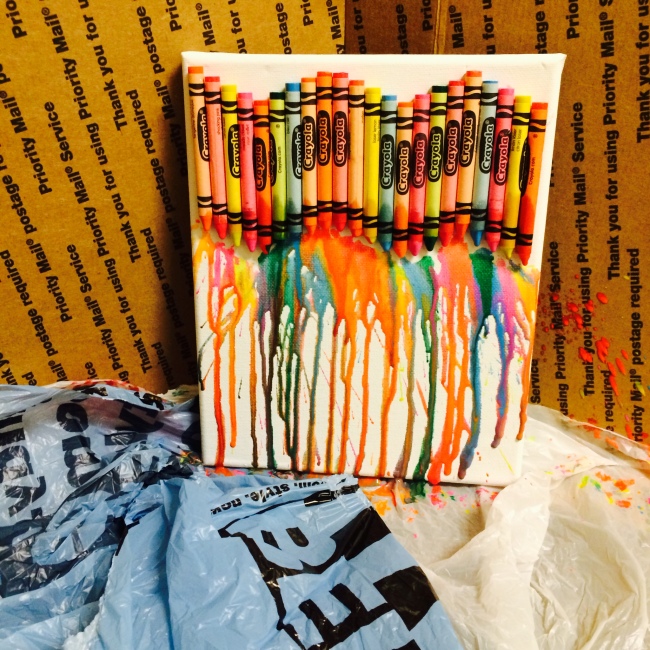
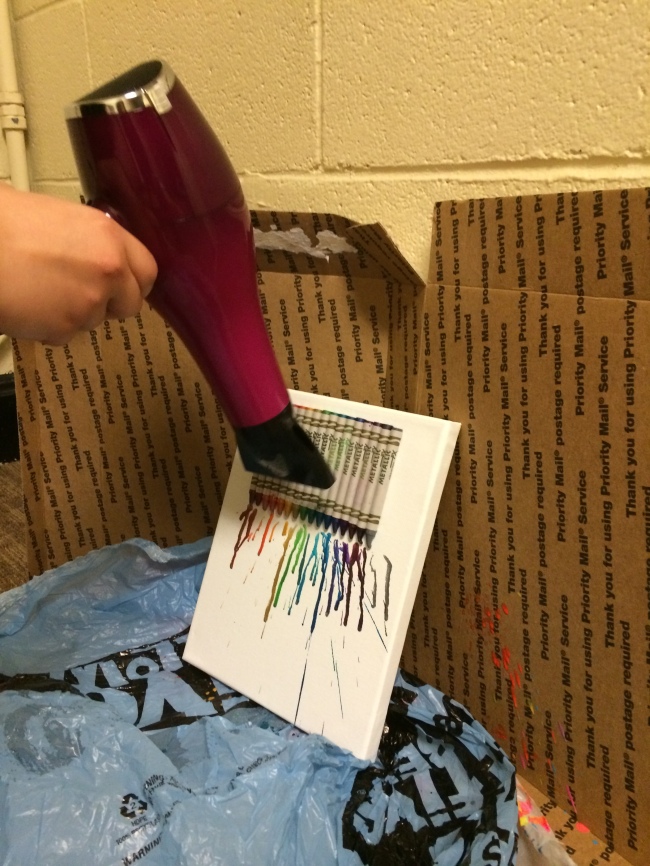
The next step is to take your blowdryer and start heating up the crayons. I recommend a high heat, but a low blowing power. THERE WILL BE SPLATTER! Make sure that your work area is properly covered. You want to aim the heat at the tips of the crayons, near the edge of the label.
At the end, it should look something like this!
After seeing how easy that was, I decided to make another crayon art.
This time, I used metallic crayons and organized them in rainbow order, in a straight line.
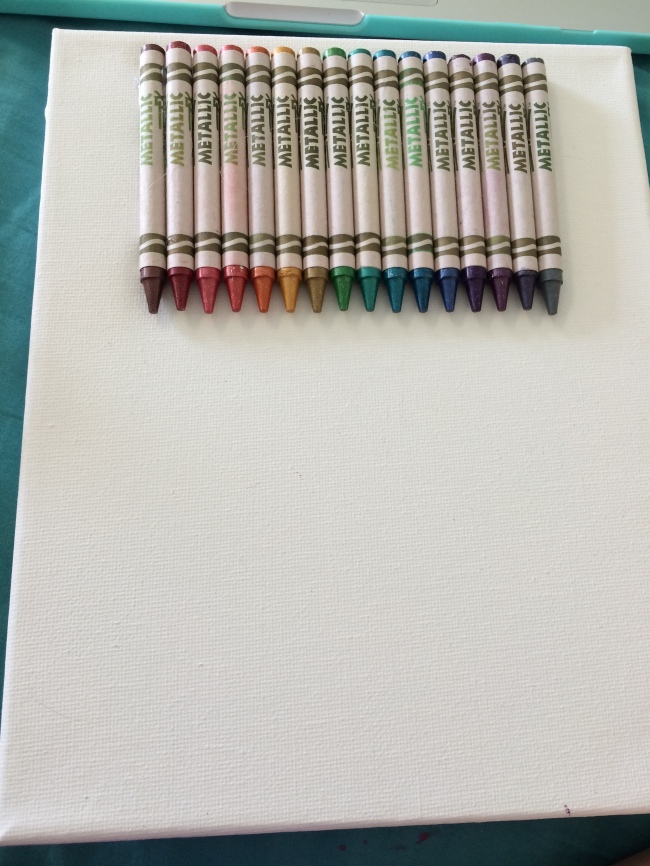
Heating them the same way, the wax started to drip.
Here is the final product!
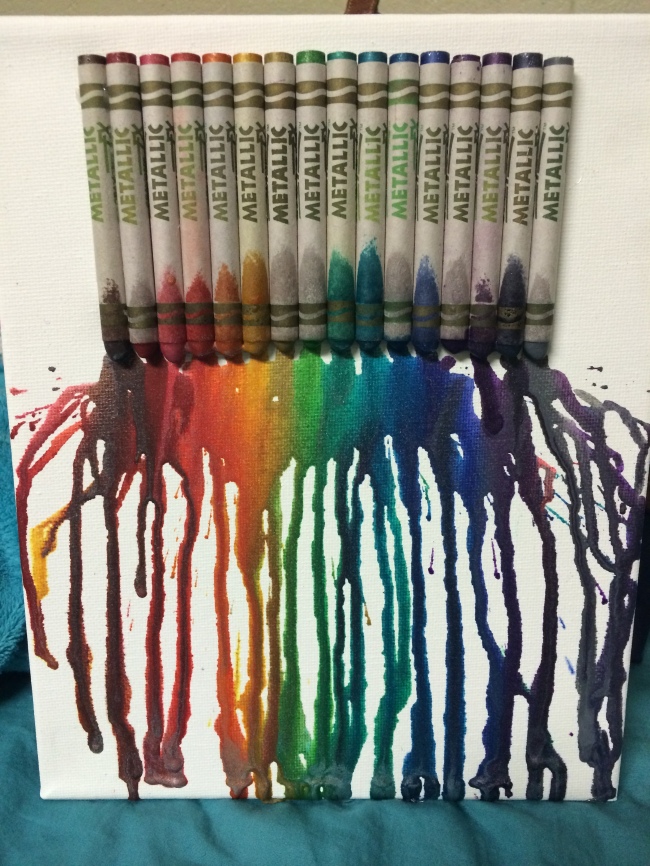
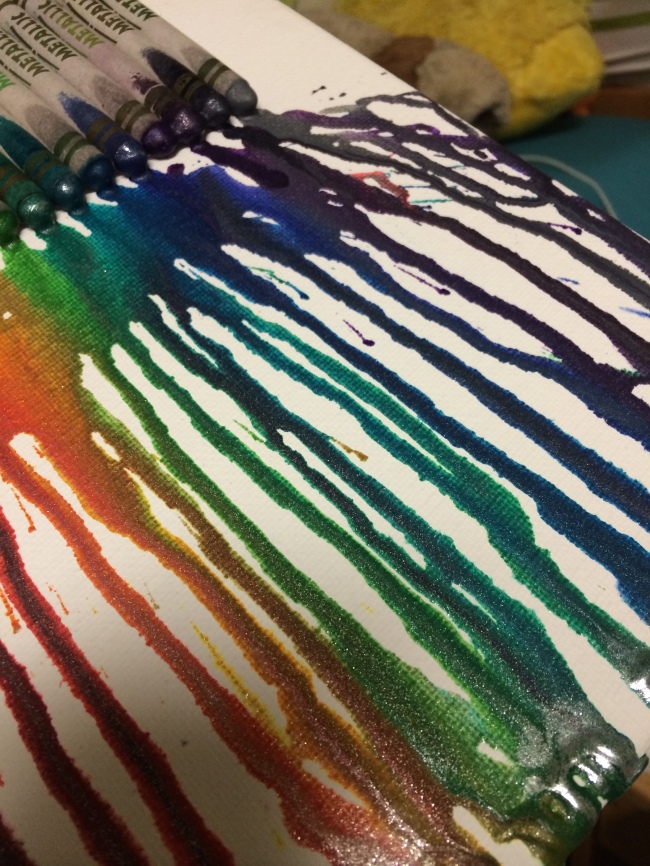
What I think is so cool about the metallic is that the silver glitter in each crayon gets dripped with the wax, giving it a shimmery quality.
This project was MUCH easier than expected. The hardest part was probably lining up the crayons on the canvas with the glue. The blowdrying was easy, as long as your surface was properly covered.
I would give this a 5/10 on the difficulty rating scale!
I cannot wait to hang these up in my dorm room!
xox,
Corinne


